Saved Views
Save filter and search configurations on your dashboard for one-click access. Quickly switch between different views of your addresses.
Save filter and search configurations on your dashboard for one-click access. Quickly switch between different views of your addresses without re-applying filters each time.
What is a Saved View?
A saved view is a snapshot of your current dashboard configuration — including filters, search terms, sorting, and column settings. Instead of manually re-applying the same filters every time, save them as a named view and load them with a single click.
What Gets Saved
A saved view captures the following dashboard settings:
| Setting | Description |
|---|---|
| City Filter | Selected city filter |
| Project Name Filter | Filter by project name |
| Address Status Filter | Active, archived, or other status filters |
| Latest State Filter | Filter by the latest interaction state |
| Sort Preference | Sort by address or distance |
| Search Text | Your current search query |
| Search Mode | Simple, structured, or AI search mode |
| Structured Query Filters | Filters built using structured search |
| Custom Field Filters | Any applied custom field filters |
| Column Visibility | Which table columns are shown or hidden |
| Page Size | Number of rows displayed per page |
Creating a Saved View
- Configure your dashboard with the desired filters, search, sorting, and column settings
- Click Save View
- Enter a name for the view
- The view is saved and appears in your personal account menu
Using Saved Views
- Click a saved view from the menu to load its configuration
- The dashboard updates immediately with the saved filters and settings
- Switch between views to quickly change your dashboard perspective
Managing Saved Views
From Profile Settings
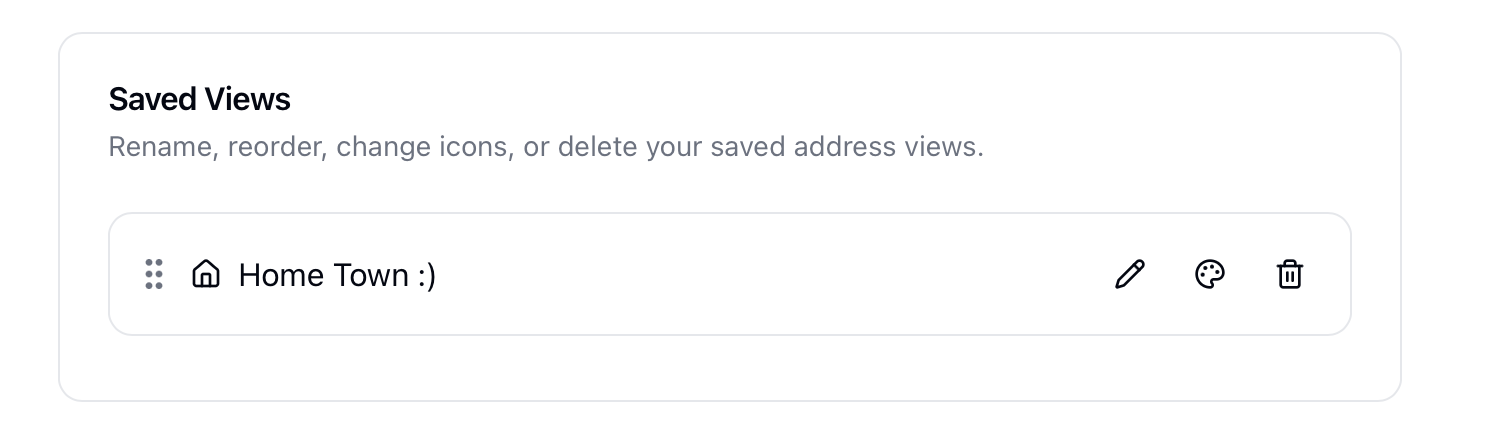
Navigate to your Profile Settings to:
- Rename a saved view
- Delete a saved view
- Reorder — Drag and drop views to change their order
- Change Icon — Change the icon of the saved view in the menu
Related Topics
- Dashboard - Your personal dashboard
- Profile Settings - Manage saved views and other settings