How to Record Sales
This guide provides step-by-step instructions for recording sales in Sellfaster.
This guide provides step-by-step instructions for recording sales in Sellfaster.
What is a Sale?
A sale records a completed transaction linking:
- A product from your inventory
- An address (customer)
- A salesperson
- The campaign context
Sales are tracked with configurable states and can trigger commission calculations.
Prerequisites
Before recording sales:
- Products must be configured in your campaign
- You need access to a team account with sales permissions
- The lead should exist in a campaign
Understanding Sales Structure
Sales and Sales Orders
Sellfaster uses two related concepts:
- Sale: An individual product sold (one sale per product)
- Sales Order: Groups multiple sales together (e.g., customer buys 3 products = 1 order with 3 sales)
Each sale gets a unique number like SALE-A1B2C3D4-000001, and orders get numbers like ORD-A1B2C3D4-000001.
Recording a Sale
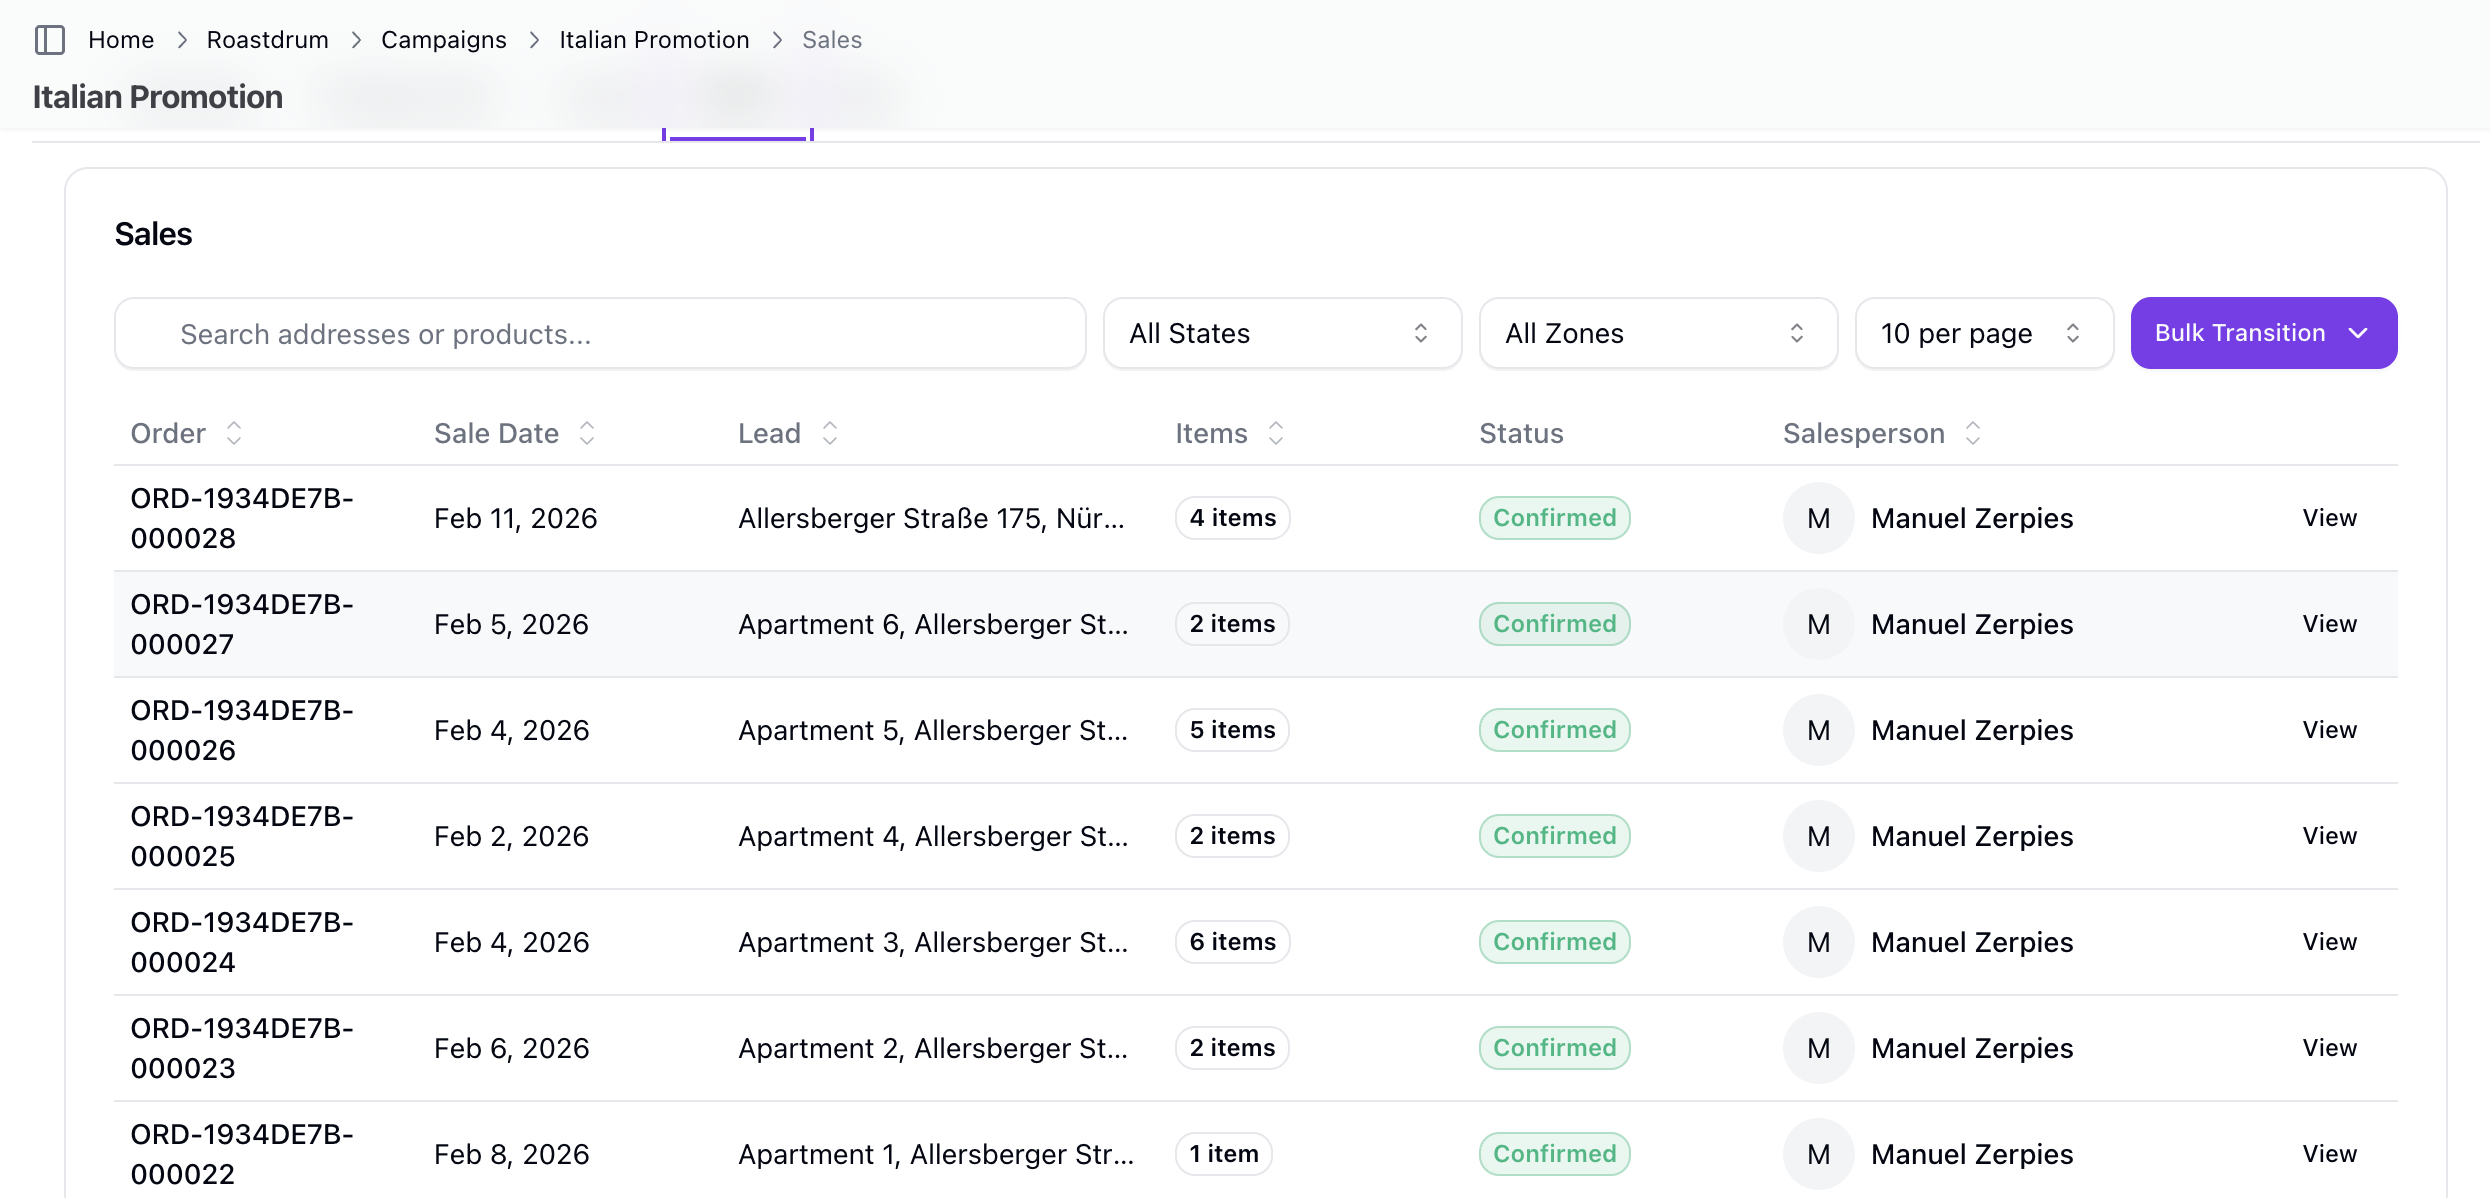
From the Campaign Sales Page
- Navigate to Sales
- Go to
/home/[team]/projects/[campaign]/sales - Or click Sales in the campaign navigation
- Go to
Find the sale creation option
- Look for the option to record a new sale
Select the Lead
- Choose the customer lead for the sale
- The lead must exist in the campaign
Select the Product
- Choose from products configured for the campaign
- Products define the commission amount
Set the Sale Date
- Select when the sale occurred
Add Notes (Optional)
- Include any relevant details
Save
- The sale is created with an auto-generated sale number
- Initial sale state is applied automatically depending on your sales model
Multi-Unit Products
Some products are configured to allow multiple sales per lead:
- When
allow_multiple_per_unitis enabled on a product - You can sell multiple units to the same lead
- Example: Mobile phone contracts (one per household member)
Sale Form Fields
Required Fields
| Field | Description |
|---|---|
| Lead | Customer lead for the sale |
| Product | Product being sold |
| Sale Date | Date of the sale |
Optional Fields
| Field | Description |
|---|---|
| Notes | Additional information about the sale |
Auto-Generated Fields
| Field | Description |
|---|---|
| Sale Number | Unique identifier (auto-generated) |
| Sale State | Initial state based on sale model |
| User | Salesperson (typically current user) |
Sale States
Configurable State System
Sellfaster uses a configurable state system for sales:
- Sale State Models - Templates that define workflow
- Sale States - Individual states within a model
- State Transitions - Allowed moves between states
State Properties
Each sale state can have these properties:
| Property | Effect |
|---|---|
| is_initial | Starting state for new sales |
| is_terminal | No further transitions allowed |
| triggers_commission | Creates commission when entering this state |
| reclaims_commission | Reverses commission when entering this state |
| cancels_lead | Marks lead as sold |
| color | Visual indicator in the UI |
| position | Order in the workflow |
Common State Workflows
Example states your team might configure:
| State | Typical Purpose |
|---|---|
| Pending | Initial state, awaiting processing |
| Confirmed | Sale verified and finalized |
| Cancelled | Sale was cancelled |
State transitions are validated - you can only move between states that are configured as valid transitions.
Commission
How Commission Works
Commission is calculated automatically based on:
- Product commission amount - Set on the product configuration
- Sale state triggers - States configured with
triggers_commission: true - Promotions - May adjust the commission amount
Commission Tracking
- Earned commission: Created when sale enters a triggering state
- Reclaimed commission: Created (as negative) when sale enters a reclaiming state
- Commission amount: Uses
sale.commission_amountif set (promotion-adjusted), otherwise product's base commission
Viewing Commission
After a sale is recorded:
- Commission appears in the Commission section
- Linked to the salesperson
- Tracked until paid via payslip
Editing a Sale
What Can Be Edited
After creation, you can update:
- Notes
What Cannot Be Changed
Depending on configuration:
- Sale state (must use state transitions)
- Product
- Address
- Original sale date (in some cases)
Transitioning Sale State
To change a sale's state:
- Open the sale detail
- Find the state transition options
- Select a valid next state
- Confirm the transition
This may trigger commission changes based on state configuration.
Inventory Integration
Product Inventory Movements
Sales can trigger inventory movements:
- Movement type: 'in' (received) or 'out' (sent)
- Quantity: Amount moved
- Linked to sale: Movement references the sale
Inventory movements are immutable after creation.
Best Practices
Recording Sales
- Record promptly - When the sale happens
- Link to correct address - Ensures proper tracking
- Verify product - Correct product for commission
- Add useful notes - Context for future reference
State Management
- Understand your workflow - Know valid transitions
- Use correct states - Affects commission calculation
- Don't skip states - Follow the configured workflow
Troubleshooting
Can't Create Sale
If you can't create a sale:
- Verify you have sales permissions
- Check the address exists and is accessible
- Verify products are configured for the campaign
- Check for validation errors
Commission Not Appearing
If commission doesn't show:
- Check the sale state - must be a commission-triggering state
- Verify product has commission configured
- Check the sale model configuration
- Commission may appear after state transition
Can't Transition State
If you can't change sale state:
- Check if current state is terminal (no transitions allowed)
- Verify the target state is a valid transition
- Check your permissions
Related Topics
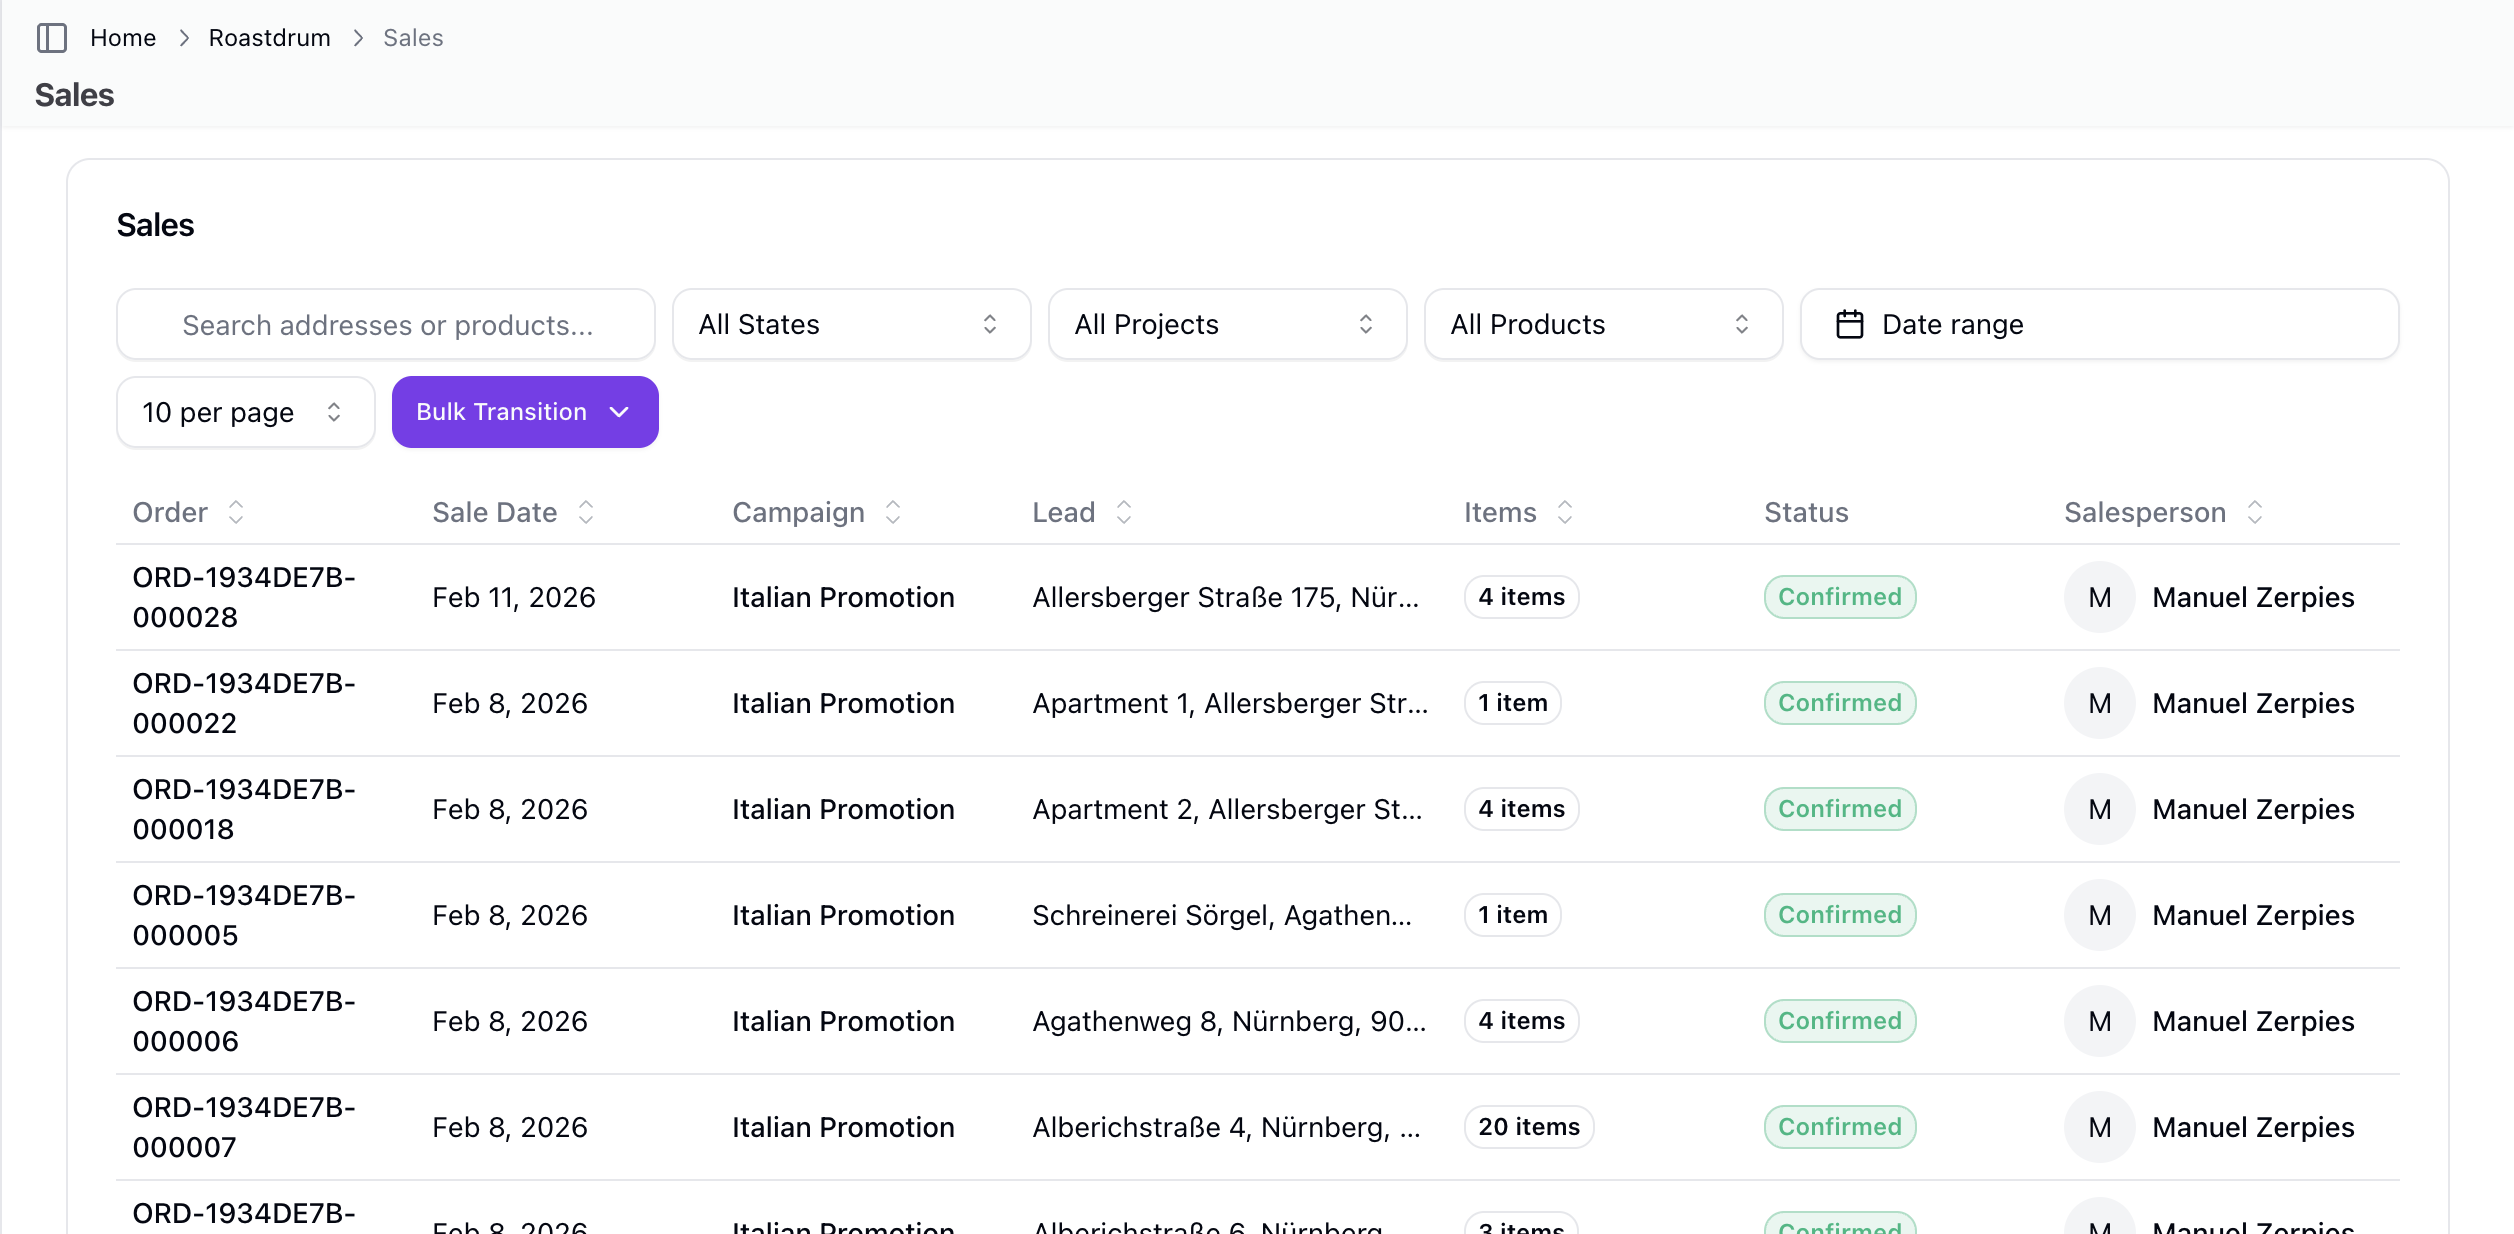
- Team Sales - Sales management
- Commission - Earnings tracking
- Inventory - Product management
- Sale Models - Configuration